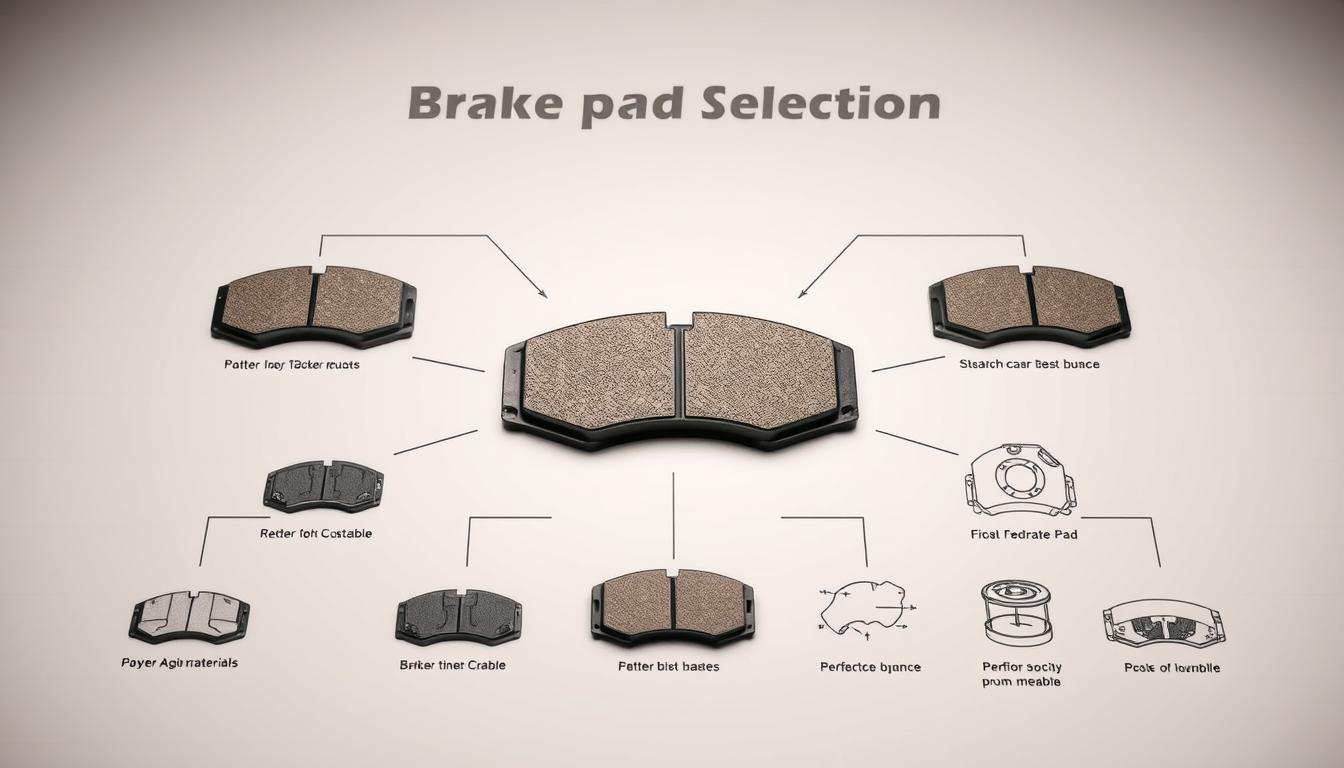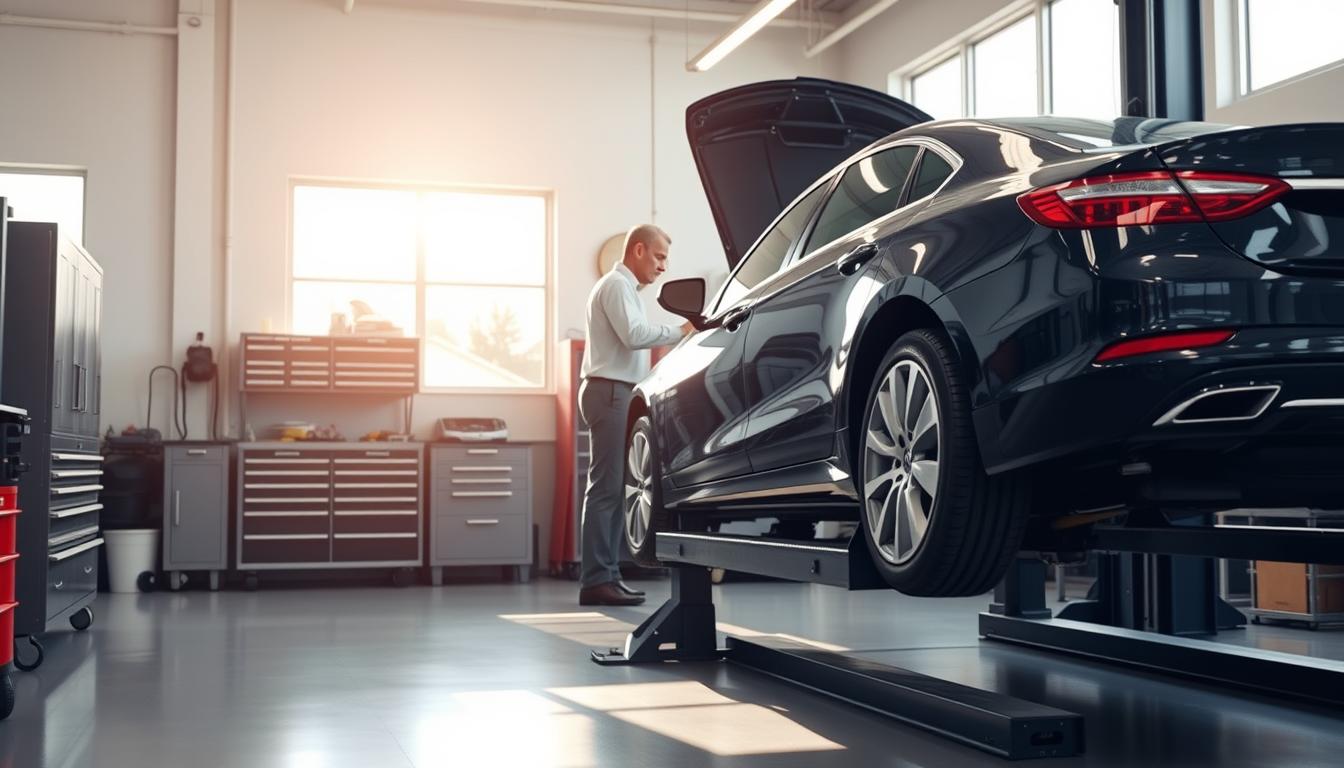
Keeping your vehicle’s brake system in good shape is key to staying safe on the road. Replacing disc and drum brake pads is a big part of this. Worn-out brake pads can make your car stop less well, which could lead to accidents.
Regular brake maintenance keeps your car running well and makes its parts last longer. By following a simple guide, you can change your car’s brake pads yourself. This can save you both time and money.
Key Takeaways
- Regular brake maintenance is essential for vehicle safety.
- Replacing disc and drum brake pads is a critical maintenance task.
- A DIY approach can save time and money.
- Following a step-by-step guide ensures a successful replacement process.
- Proper brake maintenance prolongs the lifespan of vehicle components.
Understanding Disc and Drum Brakes
Disc and drum brakes are key parts of a vehicle’s braking system. Each has its own features. Knowing about these is vital for keeping your car safe and in good shape.
What Are Disc Brakes?
Disc brakes use a rotor on the wheel hub and a caliper with brake pads. When you press the brakes, the pads squeeze the rotor to slow down. This setup helps with better heat dissipation and works well in wet weather, making them common in today’s cars.
The main parts of disc brakes are:
- The rotor, which is attached to the wheel hub
- The caliper, which houses the brake pads
- The brake pads, which clamp onto the rotor to slow the vehicle
What Are Drum Brakes?
Drum brakes, by contrast, have a drum and shoes that expand to touch the drum’s inside. They are simpler and cheaper than disc brakes, making them a budget-friendly choice for some uses.
The main parts of drum brakes are:
- The drum, which is attached to the wheel hub
- The shoes, which expand to contact the drum’s inner surface
- The wheel cylinder, which applies pressure to the shoes
Key Differences Between Disc and Drum Brakes
The main differences between disc and drum brakes are in design, function, and performance. Disc brakes are better at superior heat dissipation and work well in wet conditions. Drum brakes, on the other hand, are simpler and cheaper.
Some key differences include:
| Characteristics | Disc Brakes | Drum Brakes |
|---|---|---|
| Heat Dissipation | Better heat dissipation | Poor heat dissipation |
| Performance in Wet Conditions | More effective | Less effective |
| Cost | Generally more expensive | Less expensive |
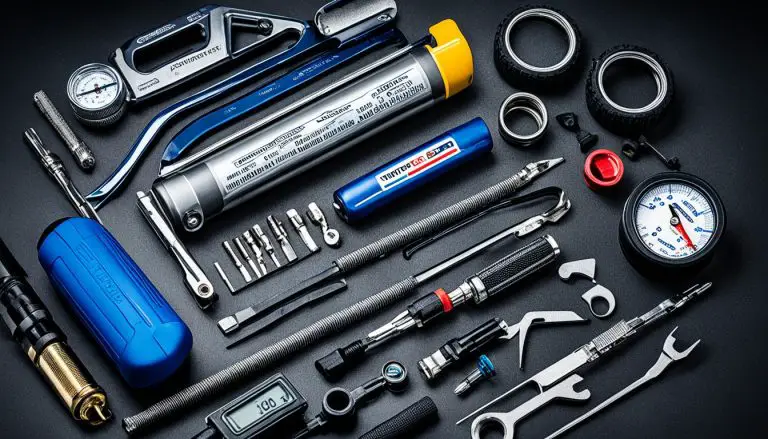
Tools You’ll Need to Change Brake Pads
Replacing brake pads needs the right tools for safety and accuracy. Make sure you have everything before starting. This avoids problems or dangers during the job.
Essential Tools for the Job
To change your brake pads well, you need a few key tools. These are:
- A lug wrench to loosen the lug nuts on your wheel.
- A socket set to remove the caliper bolts.
- A C-clamp to compress the caliper piston.
Having these tools ready makes the job easier and safer.
Safety Gear and Equipment
Along with the essential tools, safety gear is key to protect you. This includes:
- Gloves to keep your hands safe from cuts and scrapes.
- Safety glasses to protect your eyes from debris or chemicals.
Preparing Your Vehicle for Brake Pad Replacement
Starting a brake pad replacement safely means getting your vehicle and workspace ready. This step is key to working well and safely. It helps avoid accidents or injuries.
Finding a Safe Working Space
First, find a good spot for the brake pad replacement. Look for a level surface that’s solid and even. Make sure it’s free from anything that could get in the way or catch fire. This ensures a stable base for your work.
Also, think about the lighting in your area. Good lighting is vital for seeing what you’re doing. This is true, even more so when you’re under the car or handling small parts.
| Workspace Requirements | Description |
|---|---|
| Level Surface | Ensures the vehicle remains stable |
| Adequate Lighting | Improves visibility for the task |
| Clear of Obstructions | Reduces the risk of accidents or damage |
Lifting Your Car Safely
With a good workspace, it’s time to lift your car. Use a jack to lift it, and then use jack stands to keep it steady. Never just use a jack, as it can break and hurt you.
After lifting and securing the car with jack stands, check that it’s stable. This is a must for your safety and the success of the brake pad replacement.
How to Remove the Old Brake Pads
The first step in changing your car’s brake pads is removing the old ones. This process involves several key steps to ensure it’s done safely and effectively.
Removing the Wheel
To access the brake pads, you need to remove the wheel. Start by loosening the lug nuts using a lug wrench. Then, raise the vehicle using a jack and support it with jack stands for safety. Completely remove the lug nuts and take off the wheel.
- Loosen lug nuts with a lug wrench.
- Raise the vehicle with a jack.
- Support the vehicle with jack stands.
- Remove lug nuts and take off the wheel.
Detaching the Caliper
With the wheel removed, you’ll have access to the brake caliper. To detach it, you’ll need to remove the caliper bolts. Use an appropriate wrench to loosen and remove these bolts. Carefully slide the caliper off the rotor.

Taking Out the Old Brake Pads
Once the caliper is detached, you can remove the old brake pads. Pull the pads out of the caliper, taking note of any clips or retainers that may be holding them in place. This will give you access to inspect the brake rotor and other components.
Key steps to remember:
- Remove the caliper bolts.
- Slide the caliper off.
- Pull out the old brake pads.
By following these steps, you’ll be able to successfully remove the old brake pads, preparing your vehicle for new ones.
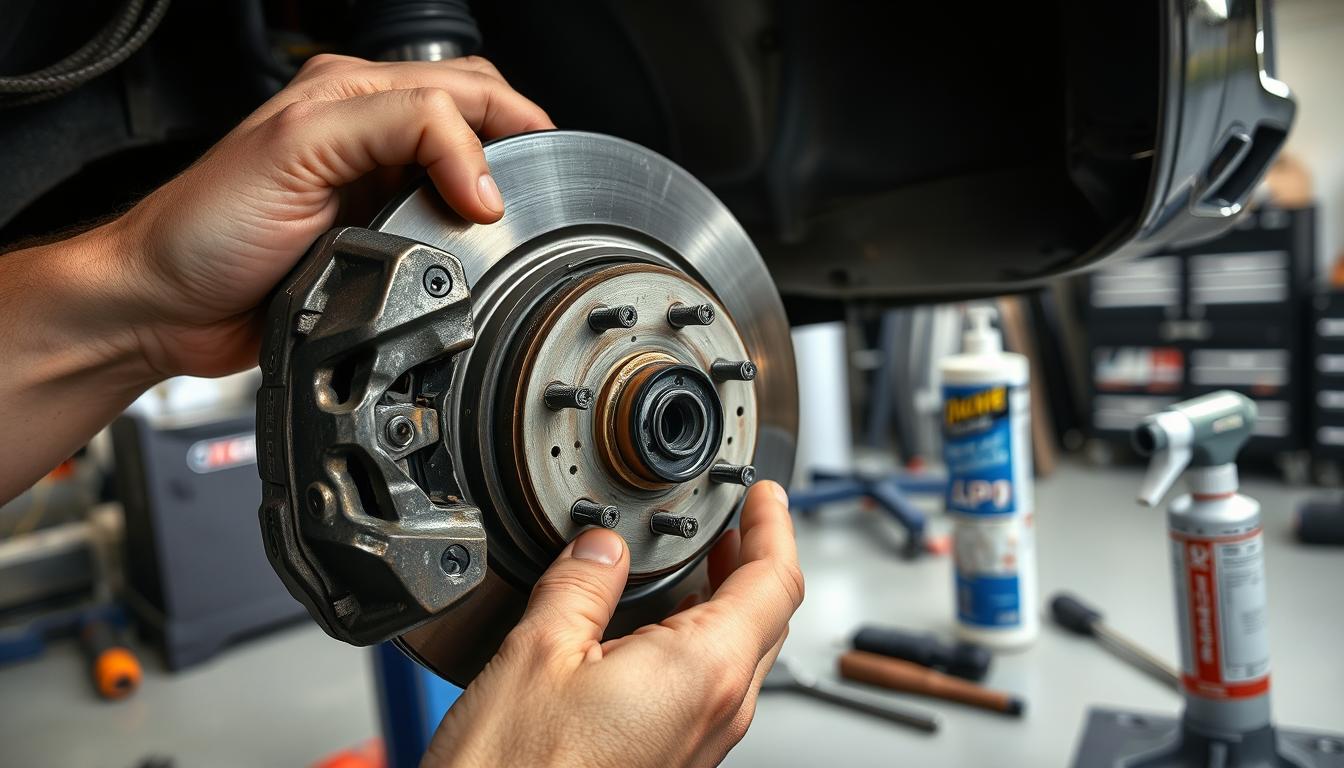
Inspecting Brake Components
Checking the brake rotor, caliper, and other parts is key for safe braking. It’s important to look at these parts before putting on new brake pads. This makes sure they work well.
Checking the Brake Rotor
The brake rotor should be checked for wear, scoring, or rust. Too much wear or scoring can hurt braking power. So, fixing any problems before new pads are installed is a must.
When inspecting, look at the rotor’s thickness and wear. If it’s too worn or damaged, it might need to be replaced.
Inspecting the Caliper and Shims
The caliper and shims should be checked for damage or corrosion. Corrosion can harm the caliper’s work, causing brake problems. Make sure the caliper moves smoothly and the shims are okay.
| Component | Inspection Criteria | Action Required |
|---|---|---|
| Brake Rotor | Excessive wear, scoring, or rust | Replace if damaged |
| Caliper | Damage, corrosion, or sticking | Repair or replace as needed |
| Shims | Corrosion or damage | Replace if necessary |
By carefully checking these brake parts, you can spot and fix any problems. This ensures your brakes work best with the new pads.
Installing New Disc Brake Pads
Installing new disc brake pads needs careful attention and the right steps. It’s key to make sure your car brakes well and safely.
Preparing the New Pads
Before putting in the new pads, clean the caliper and other parts. This removes dirt or debris. Apply lubricant to the back of the new pads and other areas as the maker says. This helps cut down on noise and vibration, making braking smoother.

Proper Installation Techniques
Put the new brake pads into the caliper carefully. Make sure they fit right and are aligned well. Ensure the pads are securely in place before you start putting everything back together.
Reassembling the Brake Components
Put the brake parts back together in the reverse order they were taken off. Tighten all bolts well, but don’t overdo it. Double-check that all parts are properly aligned and secured. After you’re done, check everything to make sure it works right.
By following these steps and being careful, you can install new disc brake pads well. This keeps your car’s brakes working great.
Installing New Drum Brake Pads
Installing new drum brake pads needs careful attention for the best braking. You’ll access the drum, remove old shoes, and put in the new ones.
Preparing the Drum Assembly
First, remove the drum or backing plate to see the brake shoes. This is key to check the drum and parts. Make sure the car is stable and the parking brake is off before starting.
Proper Installation Steps
With the drum off, take out the old brake shoes. Look at the drum for wear or damage. Clean the drum well before putting in the new shoes to avoid dirt problems.
- Remove the old brake shoes and inspect the drum.
- Clean the drum assembly thoroughly.
- Install the new brake shoes, ensuring they’re properly aligned and seated.
Reassembling the Drum
After putting in the new shoes, put the drum back together in the opposite order. Ensure all parts are tightly fixed to avoid brake problems.
Installing new drum brake pads is key for your car’s safety and performance. By following these steps, your drum brakes will work right.
Aftercare and Brake Maintenance
Proper aftercare and maintenance are key to keeping your new brake pads in top shape. They ensure your vehicle’s safety on the road. After installing new brake pads, it’s important to follow a routine. This routine helps keep your brakes working well and lasting longer.
Breaking in New Brake Pads
Breaking in new brake pads right is vital for their long life and good performance. Avoid hard braking or riding the brakes during the first few hundred miles. This can lead to too much wear and harm your braking system.
To break in new brake pads correctly:
- Slowly increase your speed and gently apply the brakes during a series of stops.
- Don’t brake hard for the first 100 miles.
- Try to slow down instead of braking hard at stops.
Regular Inspection and Maintenance Tips
Regular checks and maintenance are essential for your brakes to work their best. Regular inspections can spot problems early before they get big.
| Maintenance Task | Frequency | Importance |
|---|---|---|
| Brake Pad Inspection | Every 5,000 miles | High |
| Brake Fluid Check | Every 10,000 miles | High |
| Brake Rotor Resurfacing | As needed | Medium |
By sticking to these aftercare and maintenance tips, you can make your brake pads last longer. This ensures your vehicle’s brakes work well.

Troubleshooting Common Brake Issues
Knowing why brakes go wrong is key to fixing them. Brake problems can be simple or complex. They might need just a quick fix or a pro’s help.
Squeaking or Grinding Noises
When brakes squeak or grind, it usually means the pads are worn out or the rotors have problems. Check the brake pads for wear and the rotors for damage. If the pads are bad, replace them. Rotors might need to be smoothed out or replaced.
Reduced Stopping Power
Brakes that don’t stop as well are a big problem. It could be due to old brake pads, dirty brake fluid, or a faulty caliper. Make sure the brake fluid is clean and at the right level. If the pads are too thin, swap them out. Also, check the caliper for any issues and fix it if needed.
| Cause | Symptoms | Solution |
|---|---|---|
| Worn-out Brake Pads | Squeaking/Grinding Noises, Reduced Stopping Power | Replace Brake Pads |
| Contaminated Brake Fluid | Spongy Brake Pedal, Reduced Stopping Power | Brake Fluid Flush and Replace |
| Warped Brake Rotor | Vibration While Braking | Resurface or Replace Brake Rotor |
Vibration While Braking
Vibrations when you brake can mean warped rotors, wrong brake parts, or uneven pad wear. Look at the rotors for warping and make sure all parts are right and balanced. If the rotors are bad, you might need to replace or resurface them.
By tackling these brake problems, drivers can keep their brakes in top shape. This makes the road safer for everyone.
When to Seek Professional Help
Knowing when to get help is key, mainly if you’re not sure about brake care or fixes. If you face complex problems, it’s time to call a skilled mechanic. They can offer expert advice and fix your brakes safely and well.
Complex Brake Issues
Some brake troubles need special skills and tools. If you notice odd signs like constant vibration or strange sounds when braking, get professional help. A mechanic can find the problem and fix it right.
Benefits of Professional Brake Services
Professional brake services bring many benefits. They ensure correct diagnosis, effective repairs, and give you peace of mind. By getting a mechanic’s help, you make sure your brakes work perfectly. This lowers accident risks and extends your brakes’ life.
FAQ
How do I know when to replace my brake pads?
Replace your brake pads when they get too thin, usually around 1/8 inch. Look out for squeaks, grinding, less stopping power, or vibrations when you brake.
What tools do I need to change disc brake pads?
You’ll need a lug wrench, socket set, C-clamp, and safety gear like gloves and glasses. The right tools make the job easier and safer.
How do I install clips on brake pads?
Follow the manufacturer’s instructions for installing clips on brake pads. You’ll attach them to the pads or caliper as specified.
What’s the difference between disc and drum brakes?
Disc brakes use a rotor and caliper, while drum brakes use a drum and shoes. Disc brakes dissipate heat better and work well in wet conditions. Drum brakes are simpler and cheaper.
How do I inspect brake components?
Check the brake rotor for wear, scoring, or rust. Look at the caliper and shims for damage or corrosion. This helps spot issues with new brake pads.
How do I break in new brake pads?
Avoid hard braking or riding the brakes when new pads are in. This helps them bed in right and perform well.
What are some common brake issues and their causes?
Issues like squeaks, reduced stopping, or vibrations can be from worn pads, scored rotors, or bad calipers.
When should I seek professional help for brake repair?
Get professional help if unsure about brake maintenance or repair, or if you face complex problems. A mechanic can ensure your brakes are safe and work right.
How do I replace drum brake shoes?
To replace drum brake shoes, remove the drum or backing plate. Take out the old shoes and check the drum for wear or damage. Put in the new shoes, making sure they’re aligned and seated right.
What’s the best way to maintain my brakes?
Regularly check brake pads and other parts for wear. Do maintenance tasks like replacing pads or resurfacing rotors as needed.